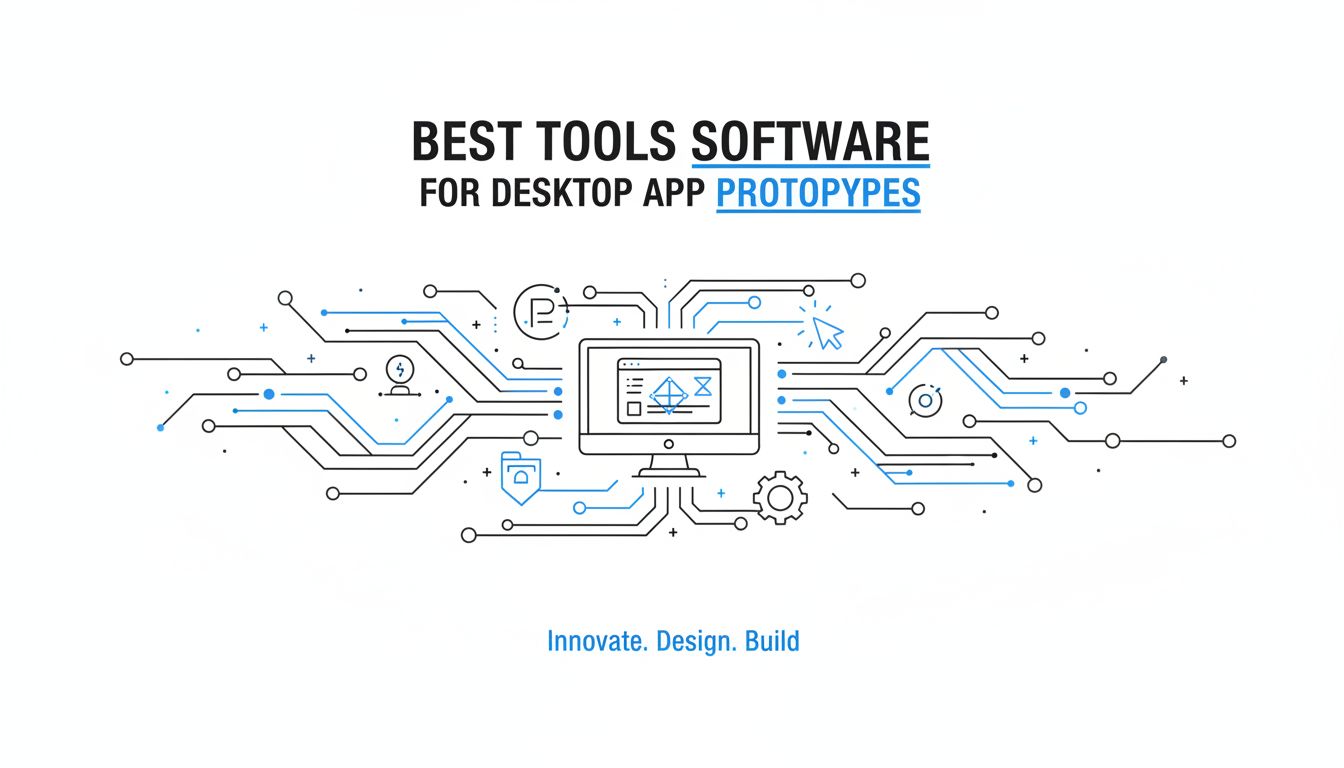
Why prototyping desktop apps without code is its own challenge
When product managers and designers start looking for the best tools software for desktop app prototypes, they often discover that advice aimed at web and mobile teams does not quite fit. Desktop applications live in a different world, one where users expect deep workflows, rich keyboard interaction, and layouts that stretch across two monitors. Translating those expectations into no-code prototypes is harder than throwing together a clickable marketing site. You are not just sketching screens, you are modeling work that might occupy a user for hours every day. That difference changes what “good enough” looks like at the prototyping stage.
The real value of a prototyping tool for desktop apps is not realism for its own sake, it is how quickly and credibly it lets your team answer product questions without writing code.
Desktop prototypes usually need to satisfy more types of stakeholders. Designers want flexibility so they can explore interaction patterns that feel native on Windows, macOS, or Linux. Engineers care about whether the envisioned workflows are technically plausible and how hard they will be to implement. Business leaders want to see something polished enough that they can imagine customers paying for it. All of that has to be accomplished before a single production branch exists, which is why your choice of tooling matters more than many teams initially think.
How desktop UX differs from web and mobile flows
Desktop experiences are built around sustained, complex work, not quick hits of interaction. A web checkout or a mobile signup might be five or six screens. A desktop photo editor, trading terminal, or CAD tool might present hundreds of commands, dozens of panels, and multiple documents open at once. Prototyping that kind of density is a different exercise than stacking simple linear flows end to end. Your tools need to support multiple windows, docked panels, resizable regions, and long-lived documents, or at least fake them convincingly.
Input methods also diverge in important ways. Mouse and trackpad precision invite patterns that would be clumsy on touch devices, such as tiny handles, multi-select, or drag to resize. Power users expect keyboard shortcuts, context menus, and right click interactions that save them seconds but add up over a day. If your prototyping environment cannot express hover states, selection rectangles, or shortcut keys, you end up hand waving through half the experience in meetings. That might be fine for an early concept, but it becomes a real limitation when you are testing workflows with actual users.
Desktop UX has deeper integration with the operating system as well. Think about clipboard behavior, file system dialogs, system notifications, and multi monitor layouts. You will rarely simulate these perfectly without code, yet stakeholders will ask questions that touch on all of them. The trick is to choose tools that get you close enough, so that questions can be answered at the level of interaction and flow, not pixel perfect mimicry of every system control. Understanding this gap upfront helps you judge tools realistically instead of chasing impossible fidelity.
The constraints and expectations stakeholders bring to the table
Stakeholders who live in desktop tools all day often arrive with strong mental models. A portfolio manager used to Bloomberg or a designer who lives in Figma will unconsciously compare your prototype to those benchmarks. They will test how your app behaves when resized, whether they can move panels where they want, and how quickly repetitive actions can be performed. If your prototype cannot express these behaviors at all, conversations easily drift into “we will fix that later in real code,” which erodes trust.
Engineering leaders bring their own constraints. They want tools that do not encourage fantasy features that will be impossible or extremely costly in the tech stack you have. If your prototype behaves like a native macOS app but you plan to ship in Electron, some assumptions will simply not translate. On the other hand, if tools like Axure or Figma let you outline clear logic and edge cases, engineers can provide informed estimates and highlight risk areas early. Good prototyping tools create a shared language that keeps product, design, and engineering tethered to reality.
Business stakeholders are another audience you have to design for. They may not care whether you used Figma, Axure, or a no-code environment, but they care deeply about clarity and confidence. They want to see customer journeys, permission models, and pricing related flows presented in a way that feels “real enough” to test with prospects or internal champions. That expectation often pushes teams toward higher fidelity sooner than they would like, which is why understanding the tradeoffs between speed, fidelity, and evidence is crucial before you pick a tool.
What “best tools software” really means for your team
When people search for “best tools software” they often hope someone has already done the ranking and can tell them what to buy. The truth is that for desktop prototyping, “best” is almost entirely contextual. A solo designer working with a small engineering team might optimize for speed and low friction, even if that sacrifices some high end interaction fidelity. A larger product organization might prefer a tool that fits into their governance, component library, and research workflows, even if it feels heavier day to day. The trick is to define “best” in your local language before you test any tools.
Clarifying whether you need speed, fidelity, or evidence
Every prototyping effort is a trade between three qualities: speed, fidelity, and evidence. Speed is about how quickly you can go from rough concept to something you can put in front of a stakeholder. Fidelity is the degree to which the prototype looks and feels like the final product, including visual polish, interaction detail, and realistic data. Evidence is what you can credibly learn from the prototype, for example whether users can complete a workflow, whether stakeholders believe the solution is viable, or whether engineers can scope the work accurately.
If you are in an early discovery phase, speed often dominates. You might use a static UI design tool like Figma, Sketch, or Penpot, add lightweight hotspots, and focus on divergent exploration. The goal is to discard bad ideas before anyone gets attached. Fidelity matters less, as long as the target users and stakeholders understand that you are testing structure and flow, not final visuals. At this stage, overinvesting in animation or realistic data is usually a sign that your tools are pulling you in the wrong direction.
Later, when you are validating a specific workflow or preparing for usability testing, fidelity and evidence move to the front. Interactive prototyping tools such as Axure RP, ProtoPie, or advanced Figma prototypes with variables and conditional logic let you mimic complex states. That extra detail increases the quality of evidence you can collect. Test participants behave more naturally when they cannot see the seams between screens. Engineers can spot states you have not modeled yet. Every team should be clear about which of these phases they are in, because a tool that is perfect for one can be frustrating for the other.
Translating team workflows into concrete tool requirements
Once you know your balance of speed, fidelity, and evidence, you can map that back to what your team actually does all week. If designers frequently collaborate in real time and hand work off across time zones, multiplayer editing and browser based tools become more important. If your organization works with strict version control and audit trails, robust history, branching, and permissions matter more than the latest animation feature. Tool selection becomes easier when you tie it to recognizable behaviors such as “we often have three designers iterating on the same feature” or “our PMs and researchers run frequent user tests.”
Think about your downstream workflows as well. Engineers will eventually need assets, specs, and documentation. A tool that exports design tokens, supports component libraries, and integrates with platforms like GitHub or Jira can save dozens of hours during handoff. On the research and feedback side, you may want integrations with survey tools, user testing platforms, or dedicated feedback hubs. Some teams use products like Vibingbase to centralize prototype links, stakeholder comments, and decision history, so they are not chasing feedback across email threads and chat logs.
Communication patterns are another hidden requirement. If your stakeholders are busy executives who prefer to review asynchronously, you need tools that generate stable and secure share links with clear commenting. If you run frequent live design critiques, then presenter modes, cursor sharing, and fast iteration cycles matter more. By grounding your requirements in how you already collaborate, you avoid choosing tools that look impressive in a demo but undermine your day to day rhythm.
Separating must‑have capabilities from nice‑to‑have extras
The hardest part of buying creative software is avoiding the shiny features that you will never use. To keep your evaluation honest, define your must haves before you start vendor conversations. For many desktop focused teams, non negotiables include strong support for desktop patterns such as menus, toolbars, resizable layouts, and complex component states. Cross platform preview may also matter if you need to show how a tool behaves on both Windows and macOS. For others, a must have might be the ability for non designers, such as PMs, to make small copy or layout changes without breaking carefully crafted components.
Nice to haves tend to cluster around convenience and polish. Auto layout features that make responsive resizing easier, plugins for specific design systems, or advanced animation timelines can all be valuable, but they should not drive the decision unless your work relies heavily on them. Similarly, integration with your favorite whiteboarding app is helpful, but it is secondary to whether the tool can express a multi window workspace or handle keyboard heavy workflows. Whenever someone on the team gets captivated by an advanced feature, ask which real project would truly suffer without it. If no one can name one, it is probably in the nice to have bucket.
Mapping common prototyping needs to modern tool types
Once your needs are clearer, you can start mapping them to the major categories of modern prototyping tools. Most teams end up using a mix, rather than a single product for everything. They might sketch low fidelity concepts in one environment, build high fidelity visuals in another, and simulate complex data logic in a no-code environment when they near validation. Understanding what each category does best helps you combine them intelligently instead of expecting any one tool to solve every problem.
Static UI design tools for fast layout and visual direction
Static UI design tools are where most desktop prototypes begin. Figma, Sketch, Adobe XD, and open source options like Penpot give you a canvas for high resolution layouts with reusable components. For desktop work, the critical question is how well they support grids, constraints, and resizing. You want to be able to show how panels behave when the window grows, what happens when a sidebar collapses, and how dense information can be while remaining readable. Features like auto layout and constraints are not just nice touches, they are core to prototyping the feel of a desktop workspace.
These tools also excel at visual exploration. You can compare multiple design directions side by side, quickly theme an application for light and dark modes, or try alternate icon systems without rewriting logic. For early portfolio reviews or stakeholder pitches, a static but visually refined design often communicates more clearly than a rough interactive prototype. If your team has a solid feedback workflow, perhaps using a hub such as Vibingbase to organize comments from different stakeholders, static designs can carry you surprisingly far before you introduce interaction.
For very early ideation, some teams intentionally use lower fidelity tools to keep conversations focused on structure, not pixel details. Balsamiq and Whimsical are common examples. Their sketchy visual style makes it clear that nothing is final, which lowers the stakes and invites more radical change. This can be especially helpful when rethinking legacy desktop software where stakeholders may be deeply attached to current patterns. Once everyone agrees on the new information architecture and main screens, you can move into higher fidelity environments without locking in bad assumptions.
Interactive prototyping tools that feel like a real desktop app
At some point, you will need to show how your app behaves, not just how it looks. Interactive prototyping tools exist on a spectrum, from lightweight click through prototypes in Figma or InVision, to highly interactive environments such as Axure RP, ProtoPie, or Framer. For desktop apps, look for tools that allow conditional logic, variables, input fields, and at least basic keyboard interaction. You want to simulate flows such as selecting multiple rows, editing data in place, navigating via shortcuts, and revealing context menus, even if the underlying data is not truly live.
Axure remains popular in enterprises precisely because it lets teams model complex logic and state. You can create master templates for windows, define conditions for when a modal appears, or simulate role based visibility of controls. ProtoPie and Framer shine when microinteractions are central, such as animating panel transitions or testing how drag and drop feels. Even Figma, with its growing set of interactive components and variables, is often enough for mid complexity flows. The right choice depends on how deep your interactions need to go before engineering takes over.
The key is to avoid overbuilding. Interactive prototypes are seductive, and teams sometimes spend weeks perfecting animation details that will be rewritten by engineers anyway. Treat these tools as a way to reduce ambiguity and uncover issues in complex flows, not as pre production environments. Define clear questions that the interactive prototype must answer. For example, “will power users understand the difference between workspaces and projects” or “does resizing this column based layout feel intuitive on ultrawide monitors.” If you cannot tie an interaction to a specific question, you may be adding fidelity without gaining evidence.
No‑code logic and data layers when you need realistic behavior
Sometimes, a clickable prototype is still not enough. Perhaps you are testing a pricing configuration workflow where math must be accurate, or you are validating performance expectations for data heavy dashboards. In those cases, layering in a no-code logic or data environment can be powerful. Tools like Bubble, Retool, Appsmith, and internal builders such as Coda or Airtable Interfaces let you create simple data models, basic authentication, and conditional logic without writing traditional code. You can connect to mock APIs, simulate latency, or enforce business rules.
For desktop like experiences, these tools are particularly useful when your app is essentially an interface over data and workflows, such as admin consoles, financial analysis tools, or line of business applications. You might use Figma for the high fidelity visuals, then recreate key flows in Retool driven by a realistic dataset. Test users can filter, sort, export, and modify records in ways that feel close to production. Engineers get a clearer sense of how complex the logic really is, which helps with estimation and architecture.
The tradeoff is speed. Building in a no-code logic tool takes longer than connecting static screens with hotspots. You should only go this far when the realism directly affects the quality of learning. If stakeholders are debating how permissions should work across multiple user types, or whether batch actions are viable, a data aware prototype can resolve those questions far better than static mockups. Combine it with your visual tools rather than replacing them, so you can still iterate quickly on layout while preserving the underlying logic model.
A practical playbook for shortlisting and testing tools
Knowing the categories is one thing, but turning that knowledge into a confident decision is another. The safest approach is to run a focused pilot where candidate tools are tested on real work, not hypothetical examples. This avoids the trap of picking software based on polished marketing sites or canned demos that ignore your specific constraints. A well structured 7 to 14 day evaluation is usually enough to reveal how each tool feels when the pressure of a real project is involved.
Designing a 7, 14 day pilot that mirrors real project work
Start by choosing a single desktop feature or mini project that resembles your typical challenges. It should be small enough to complete in two weeks, but rich enough to expose interaction and collaboration needs. For example, you might prototype a new multi pane layout for an analytics tool, or redesign the file import workflow for a design application. Use that same feature as the test case for every tool you evaluate, so comparisons are fair.
Before the pilot, write down three to five outcomes you want to measure. These might include how long it takes to produce a testable prototype, how easy it is for a PM to tweak copy without designer help, how clearly engineers can understand the intended states, or how stakeholders respond to shared previews. Resist the urge to track everything. Focus on a small set of metrics that reflect your earlier priorities around speed, fidelity, and evidence. During the pilot, have participants keep a simple log of friction points and pleasant surprises, so the final discussion is grounded in actual experience.
Make sure the pilot includes the whole lifecycle, not just design creation. Share links with stakeholders, capture comments, do a quick review with engineers, and, if possible, run at least one user session. This forces collaboration, permissions, and versioning features to reveal themselves. If you already use a feedback platform like Vibingbase, wire the new tools into that workflow during the pilot. You will quickly see which tools play nicely inside your ecosystem and which require awkward workarounds.
Comparing collaboration, handoff, and versioning in practice
Collaboration is where tools can feel very different once real work begins. During your pilot, pay attention to how natural it feels for multiple people to work in the same file or project. Do designers trip over each other, or does real time editing feel smooth and predictable. Can PMs and researchers leave comments in context, or do they resort to screenshots and separate documents. Small annoyances here compound over months of use, so they deserve weight in your decision.
Handoff to engineering is another stress test. Invite a developer to review the prototype as if they were about to implement it. Ask them to locate information they routinely need, such as measurements, component names, and state descriptions. See how easy it is to export assets appropriately sized for desktop contexts, including high resolution icons, cursors, and illustrations. If they quickly spot missing states or unclear transitions, that may signal either a limitation of the tool or a learning curve you must account for.
Versioning and branching are more subtle but equally important. Desktop products often involve long running initiatives with multiple parallel streams of work. During the pilot, try creating alternate versions of the same feature, roll back a change, and merge divergent explorations into a single source of truth. Notice whether the tool makes this easy or leaves people relying on messy file naming schemes. If your organization has compliance or audit requirements, check whether the tool’s history features are robust enough to support them.
Running demos that win over engineers and stakeholders
The final part of your pilot should be a set of demos that mimic real decision meetings. Present the prototype to stakeholders who were not involved in its creation and watch how the tool supports the conversation. Can you jump quickly between flows, or does navigation feel clumsy. Is it easy to annotate open questions, capture decisions, and share follow up links. Tools that enhance the storytelling aspect of product work tend to gain adoption faster, because they make everyone’s job easier in high stakes moments.
Consider running a short demo specifically for engineers, focusing on complexity and feasibility. Walk through edge cases, error states, and integration points. Ask whether the prototype makes it clear how the system should behave when things go wrong, or when users push it to extremes. For desktop apps, aspects like window resizing, offline behavior, and system integration often surface here. If the tool helps make these conversations concrete, it can save weeks of back and forth later in the build.
Close the pilot with a retrospective that includes all participants. Review your original success criteria and rate each tool against them, using qualitative notes from the pilot as evidence. Pay attention not only to headline features, but also to the emotional tone of the discussion. If a tool technically met the criteria but everyone sounds exhausted when describing it, that may be a sign to reconsider. Adoption is as much about enthusiasm and trust as it is about capability.
Making a confident decision and rolling the tool out
Once you have lived with a few candidates, the choice usually becomes clearer. The challenge then shifts from selection to rollout. A good decision poorly implemented can still fail. You need a lightweight way to justify the decision, an onboarding plan that does not derail current projects, and a feedback loop that keeps your tool stack healthy over time. Treat this as a product decision in its own right, with users, constraints, and iteration.
Creating a simple decision matrix your team will actually use
A decision matrix does not need to be complicated to be useful. In fact, a simple table with a handful of weighted criteria will usually serve better than an exhaustive spreadsheet. For desktop prototyping teams, those criteria often include: speed from idea to testable prototype, support for desktop specific interactions, collaboration and commenting, quality of engineering handoff, and fit with existing systems such as design systems, authentication, and feedback tools. Assign rough weights based on your earlier discussions, then score each tool from your pilot.
The value of the matrix is less in the exact scores and more in the structured conversation it prompts. It forces stakeholders to articulate why they care about certain aspects more than others. It also creates a shared artifact you can point back to when new shiny tools appear. When someone asks “why are we standardizing on this platform,” you can show that the decision was grounded in real work and agreed priorities, not just personal preference.
Onboarding designers and PMs without slowing current projects
Rolling out a new tool in the middle of active desktop projects can feel risky. To reduce disruption, start with a small pathfinder group of designers and PMs who are motivated to adopt the new stack. Give them a clear mandate and support, for example a short training plan, office hours with an internal champion, and access to pilot templates. Let them complete at least one full feature cycle in the new tool before expecting wider adoption.
During this period, avoid forcing a big bang migration. Allow some overlap where old and new tools coexist, especially for long running initiatives that are already mid flight. Define clear boundaries, such as “all new features start in the new tool” while “existing maintenance continues in the old environment” until a set date. This helps the organization adjust without breaking commitments to stakeholders who are already familiar with existing prototypes and specs.
Invest a little effort in shared resources that lower the barrier for newcomers. Starter component libraries, example files that show good patterns for desktop layouts, and documentation on naming and versioning conventions will all pay off quickly. Make it easy for PMs to participate by showing them how they can view, comment, and occasionally edit without risking accidental damage. The goal is for the tool to feel like an enabler, not a gate kept design fortress.
Setting up a feedback loop so your tool stack can evolve
Finally, treat your prototyping tool stack as a living system. Desktop products are rarely static, and neither are the tools used to design them. New features ship, integrations improve, and your team’s needs evolve. Create a simple feedback loop where people can share both frustrations and delights with the tool. This might be a dedicated channel, a recurring agenda item in design reviews, or surveys sent every quarter.
Take that feedback seriously. If engineers consistently struggle to interpret interactive prototypes, perhaps the team needs better documentation templates or a different handoff process. If PMs feel locked out of minor edits, consider training or adjusting permissions. Tools like Vibingbase can help here too, by centralizing discussion around artifacts and giving you data on where collaboration is succeeding or breaking down. Over time, you may add complementary tools for specific tasks, such as animation or research, but your core evaluation criteria should remain visible so sprawl does not creep back in.
Periodically revisit your original decision matrix to see whether your assumptions still hold. You might discover that a once critical feature is now less important, or that a new integration has changed the balance. Make adjustments deliberately, rather than in reaction to every new launch announcement in the design tooling world. A stable, thoughtfully chosen stack gives your team the confidence to focus on what matters most, which is building great desktop experiences.
Closing thoughts
Choosing the best tools software for desktop app prototyping is not about finding a universal champion. It is about aligning your choice with how your team works, what your product demands, and the kind of evidence you need at each stage of development. If you define those needs clearly, run a focused pilot, and involve the right voices in evaluation, the decision usually becomes obvious. Your next step is simple: pick one real desktop feature, design a short pilot around it, and let the work show you which tools truly help your team move faster with confidence.